How to Set up a Sensory Bin for Toddlers
Here’s everything you need to know to start using sensory bins with your toddler including a free printable of fillers and odd and ends to use in your sensory bin.
Sensory bins seem to be all the rave right now in parenting and rightfully so: there are so many benefits to using them and they don’t have to be complicated! For my son’s second birthday we made a sensory bin with construction trucks and it was a hit with all the guests (ages 2-10 and my husband) and not just for one night but for a whole week after his party! So not only do they provide countless hours of engagement (and who doesn’t want that with a toddler?!) but they also help cognitive development, fine motor skills and sensory perception.
Table of Contents:
- What are Sensory Bins?
- Why are sensory bins important?
- How to get started with sensory bins
- The container
- The filler material
- The odds and ends
- Tips for success
What are Sensory Bins?
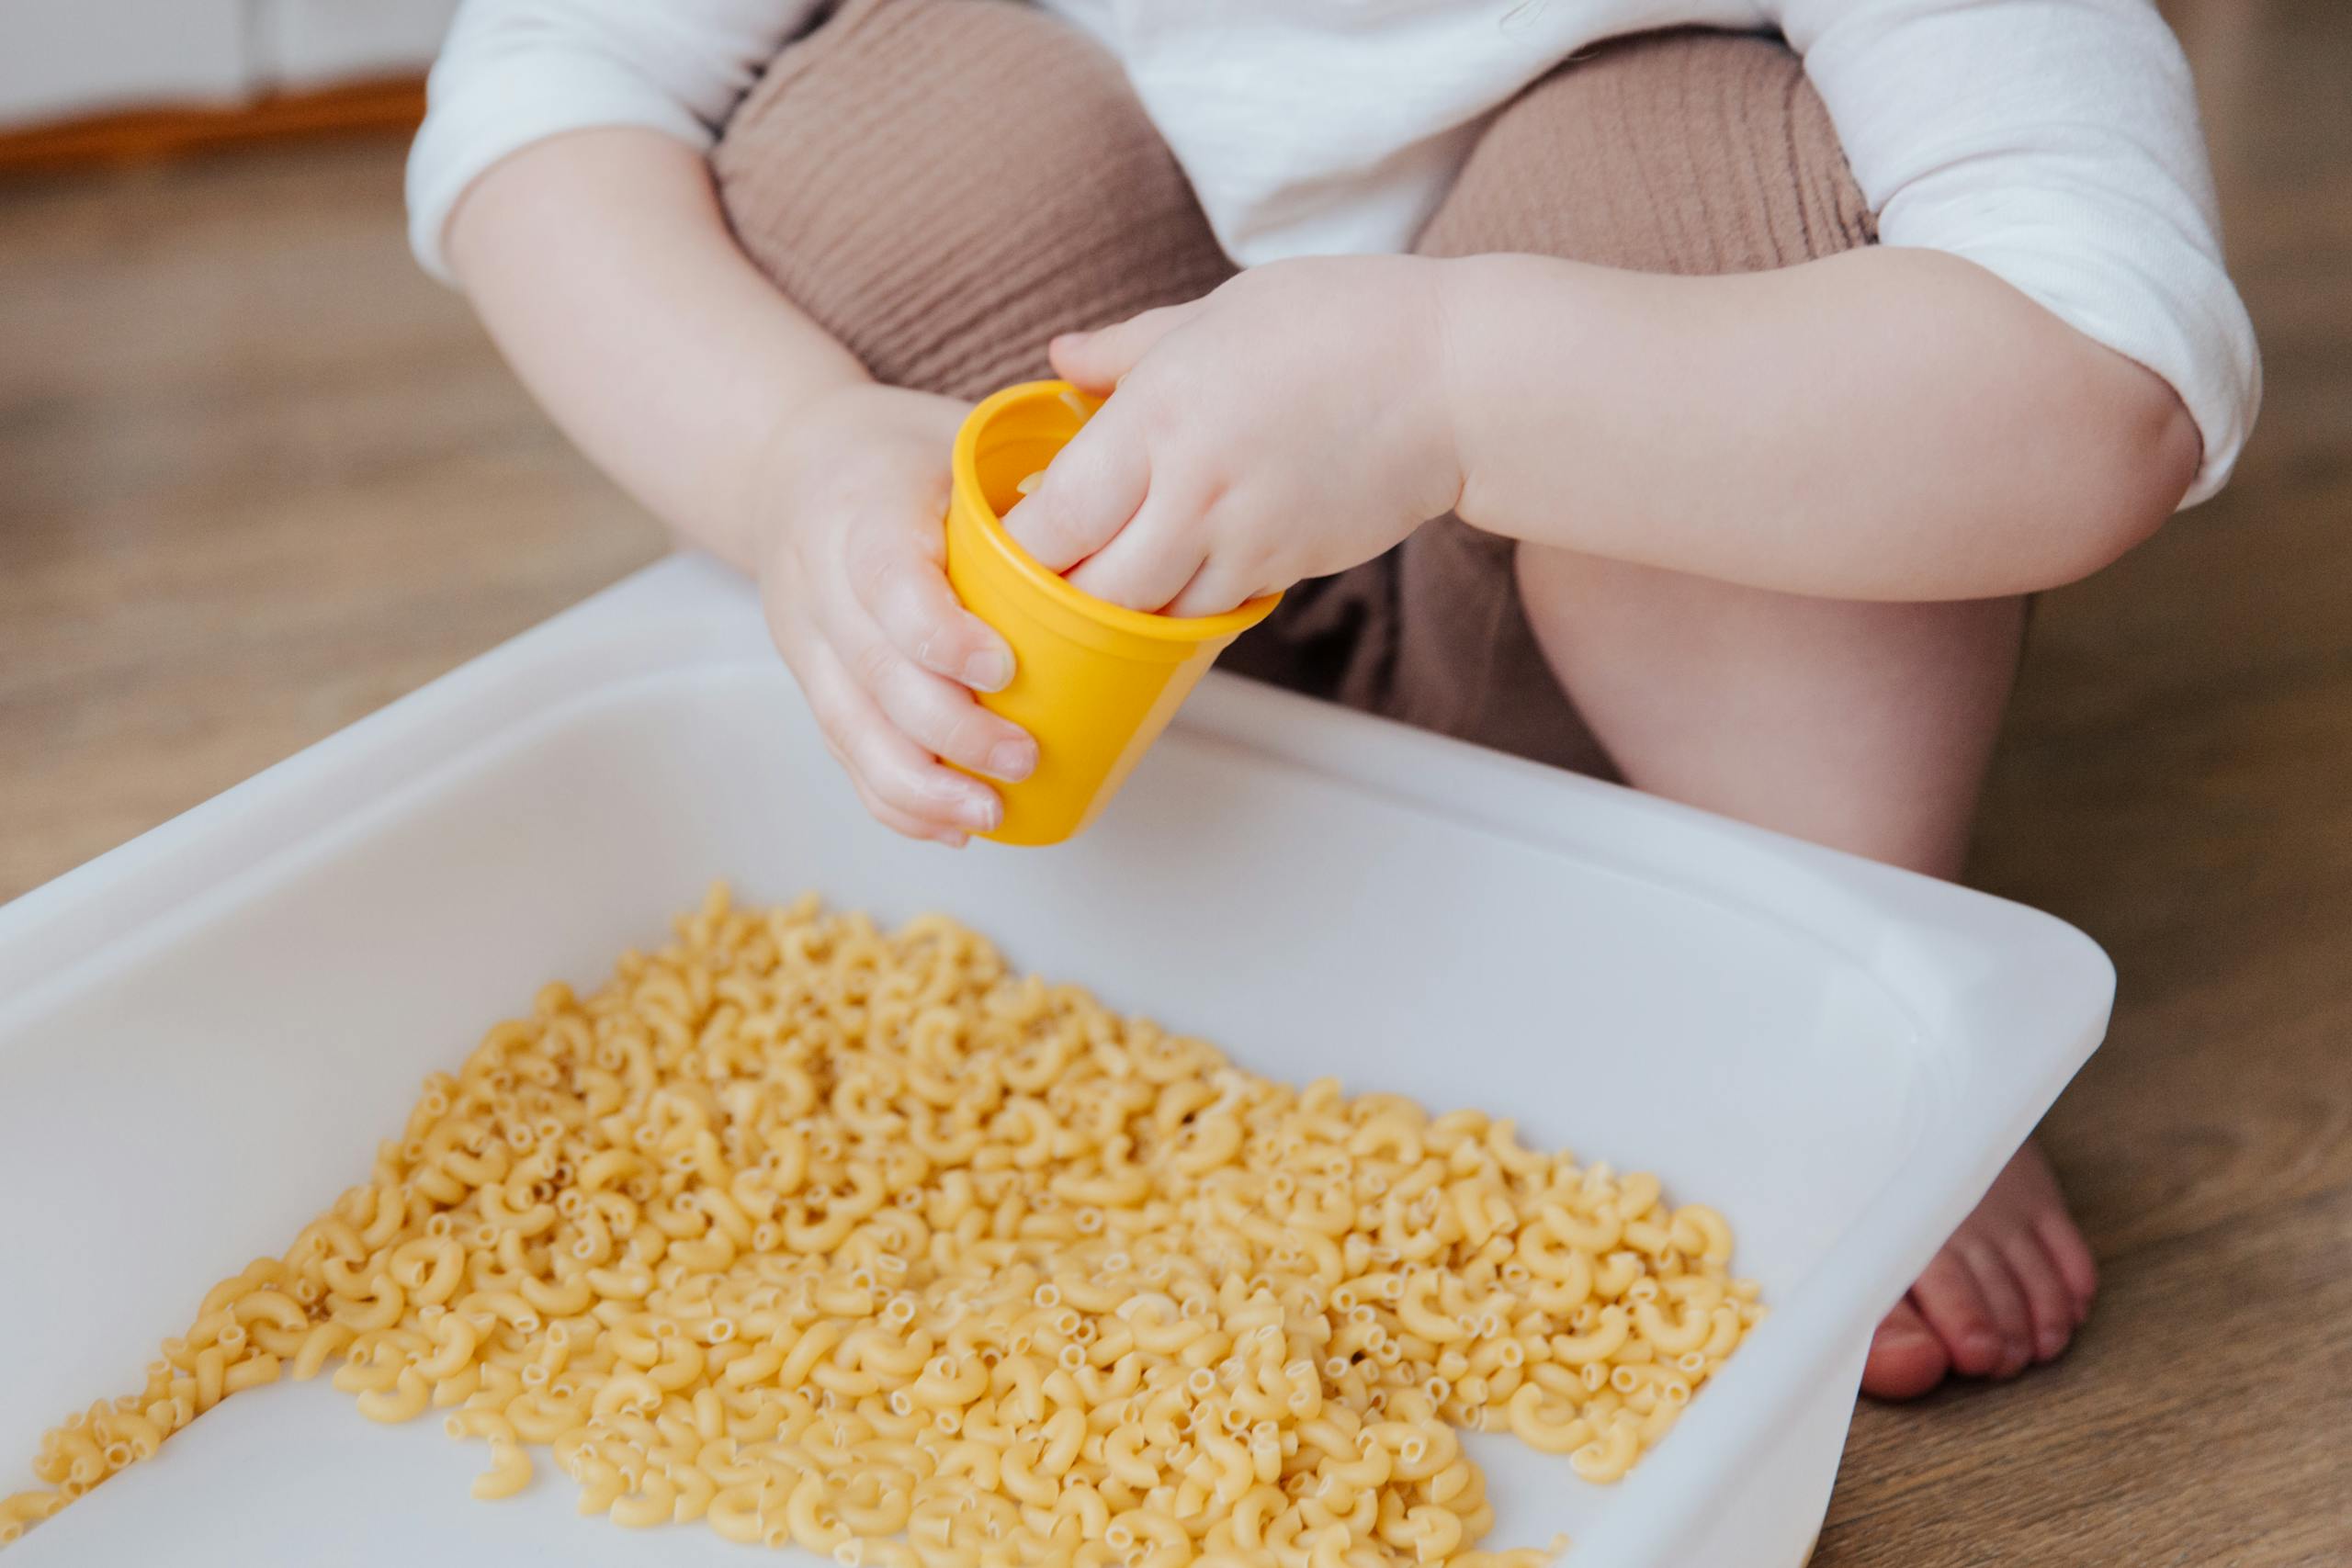
Sensory bins are containers filled with various materials to stimulate the senses (sight, touch, smell, sound and taste). (If you’re curious, there are three more senses we don’t often talk about (vestibular, proprioception and interoception) but unfortunately sensory bins don’t typically help stimulate those.) Sensory bins are created with a filler material such as colored rice, beans, water, cotton balls, etc and small objects such as trucks, scoops, cups, toys.
Some people steer away from sensory bins because they can be messy. I would agree but have found success with my toddlers by enforcing the boundary that the materials stay in the bin in order to continue to play. Putting a sheet under the bin can also help with cleanup as well as making it habitual to wash hands after playing in the bin; this is especially important when playing in public sensory bins such as at the library.
Why are sensory bins important?
There are so many benefits to using sensory bins. As toddlers explore with the filler material and small objects, they are developing their fine motor skills which are the same skills they will need to feed themselves and write. The sensory bin also allows them to explore with their senses (hence the name), mostly their sense of touch. When you incorporate scoops and cups, you’ll help your toddler develop their cognitive skills like cause and effect and understanding of volume. When you pair that with talking to them about what they are doing or what is happening as they fill up a cup with beans, you can add “developing language skills” to the list of benefits. Lastly, sensory bins can provide a way for an overstimulated child to calm down and hopefully avoid a rising meltdown – it’s like playing in those mini zen sandboxes, you know, the ones with the rakes that instantly calm you down despite your overwhelming to-do list.
How to get started with sensory bins
It doesn’t cost much to get started with sensory bins because most of the materials you probably already have laying around the house. To create a sensory bin, you’ll need a container, the filler material and some odd and ends.
The container:
You can get super fancy and get a sensory bin like this one (Inspire My Play Sensory Bin with Lid and Removable Storage Inserts – Sensory Bins for Toddler Crafts – Kids Sensory Toys for Autistic Children – Sensory Activities for Toddlers) which looks super cool but you can also just get a bin from Target (link). You’ll want to find one that is large enough for your toddler to play in, and preferably even invite others to play with them, but not so big you’re using 30 pounds of beans (been there!). From my personal experience, I’ve found that if I give my toddler a small container (say shoebox size) he thinks it’s an invitation to dump it out so I’ve found the sweet spot to be the 40 quart size. If your child is anything like mine though, you may find them sitting in the bigger bin. I allow this just because he still minds the boundary of keeping material in the bin and I know his little feet are getting a new sensation as well.
The Filler Material:
The flexibility in sensory bins is one of the reasons I love them so much. The filler material can be almost anything, you just need quite a bit of it. There’s a lot of examples out there recommending beans as a filler (and I love using beans myself) but I have also read that beans are toxic when consumed raw. Other filler ideas are rice (which you can easily color), dried pasta, unpopped popcorn, sand, cotton balls, crinkle grass, and water beads. All of these can pose a risk to little ones without adult supervision and although it seems silly, trust me, once you reach your hands in the bin with water beads or beans, you won’t want to stop playing anyway.
The Odds and Ends:
Again, really anything can go in the sensory bin for the odds and ends. You can use small figurines for your Little to dig for, scoops and cups to enhance their fine motor skills, or construction vehicle toys to encourage their imagination.
You can rotate out the filler material or the odds and ends to keep your kiddo engaged or change it entirely to fit a certain theme.
Tips for Success
Set boundaries:
When we first started with sensory bins, I absolutely dreaded them since I always ended up cleaning up after my child or helping him clean up. Sometimes I think he threw the rice down just so he could use the brooms. But then I realized I could use sensory bins to help him learn to respect boundaries. The next time we went to the sensory bin, I told him that the materials stay in the bin and if they come out, we’re all done. As with all boundaries though, you have to stick to them so when materials came flying out, I had to remind him of the boundary and then take him away from the bin and tell him we could try again tomorrow (or after a set time on my timer).
Keep materials organized:
The filler material is the hardest to figure out how to organize. You can keep a bin for each material to rotate into your sensory bin or have multiple sensory bins. The odds and ends you use can be incorporated into the other toys.
Keep it simple:
I’m the queen of overthinking things so sometimes I find myself not doing the sensory bin because I don’t have a theme to it or different filler materials. You have to remember though: the kids don’t care. They just want to feel the beans running through their hands so don’t worry if you don’t have it all figured out yet. Also remember that too many odds and ends in the bin could be overwhelming or make play crowded.
I’m going to let you in on a little secret: your little doesn’t care if you have a Pinterest worthy sensory bin – they just want to run their little fingers through something (sand, beans, spaghetti noodles, whatever) and play with you. So, go grab a bin and some rice and throw in some measuring cups to start your adventures with sensory bins. If you’d like my Ultimate List of Sensory Bin Fillers printable, click below.

